Mastering Photeeq Lens Flare: The Complete Beginner’s Guide to Glowing, Light-Filled Photos
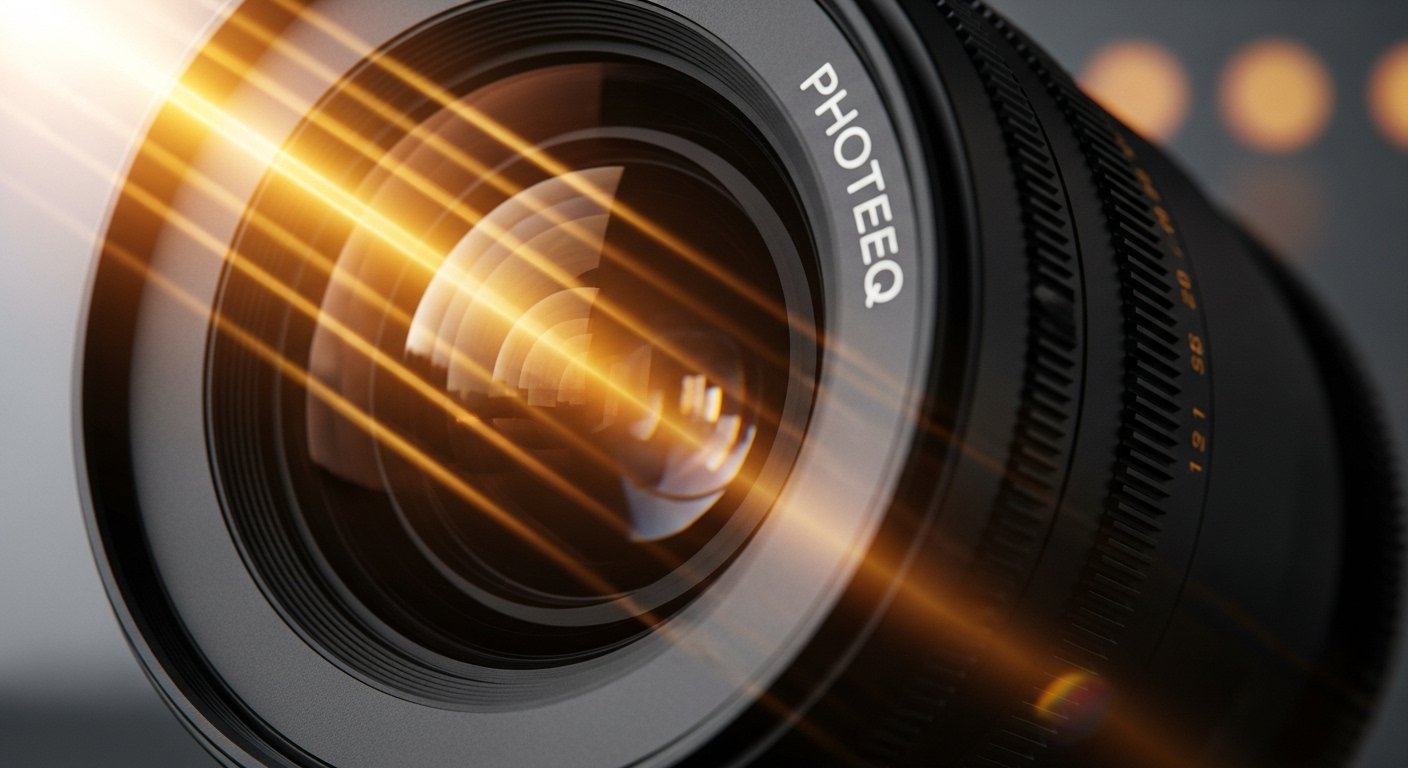
Table of Contents
Introduction
Have you ever seen a photo with a dreamy flash of light that looks magical? That’s probably a photeeq lens flare. It happens when bright light, like the sun, hits the camera just right. It adds beauty and shines to any picture.
Now imagine adding that magic to your own photos anytime you want. That’s what photeeq lens flare can do. It lets you add soft, glowing light to your photos, making them pop with mood and style.
You don’t need to be a pro to use it. Whether you’re just starting with photo editing or already love photography, this tool is for you.
Let’s explore how to use photeeq lens flare, why it’s great, and how you can start creating photos that glow with light and emotion.
What Is Photeeq Lens Flare and Why People Love It
Photeeq lens flare is a plugin for photo editing. It gives you pre-made light effects that look just like real sunshine or camera flares.
Instead of spending hours creating light effects in Photoshop, you just pick the flare you want and add it. It’s that simple. This makes your photo look more artistic with very little effort.
Photographers and social media users love it because it creates soft light, warm feelings, and a beautiful glow.
Plus, Photeeq has many kinds of flares. Whether you want golden light for a sunset photo or a sci-fi glow for something cool, Photeeq has you covered.
How Does Photeeq Lens Flare Work?
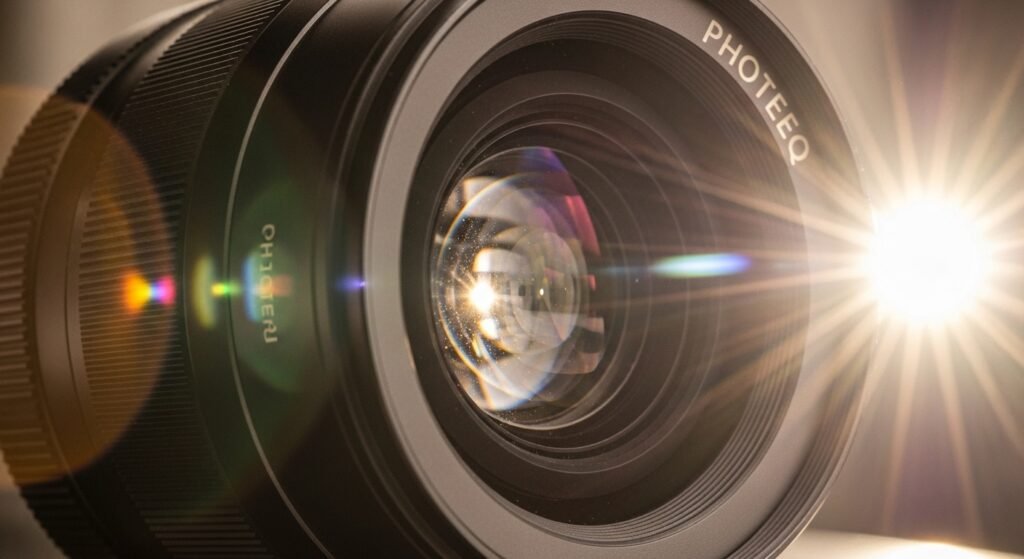
Using photeeq lens flare is like adding sunshine to your photo with just one click. It works by layering a realistic light pattern on your original picture.
The flare can shine from the corner like it’s coming from the sun, or float softly across the scene. It blends with your photo colors, shadows, and highlights so it doesn’t look fake.
You can change the size, angle, color, and brightness to match the mood of your photo.
This makes your picture look like it was captured with real sunlight, even on a rainy day.
When Should You Use Photeeq Lens Flare?
Not every photo needs a lens flare. But photeeq lens flare makes many pictures look better by adding mood and drama.
Use it in photos like:
- Portraits with backlighting
- Nature scenes with skies or sunsets
- Cityscapes during golden hour
- Beach photos with reflections
- Fantasy or storytelling edits
Adding photeeq lens flare to the right photo can give it that wow factor. Try it on a plain photo, and you’ll be surprised at how much life it adds.
How to Install Photeeq Lens Flare
To start using photeeq lens flare, you need to install the Photeeq plugin. It works with photo editing programs like Adobe Photoshop and sometimes Lightroom.
Here’s how to do it:
- Download the plugin from the official Photeeq website.
- Follow the setup instructions for your photo editor.
- Restart the program after installation.
- Look for “Photeeq” in the filters or plugins menu.
- Open your photo and start adding flares.
Make sure your editing software version works with the plugin. Some older systems may not support all features.
Simple Steps to Apply a Photeeq Lens Flare
Using photeeq lens flare is very easy, even if you’re new to editing. Just follow these steps:
- Open your photo in Photoshop.
- Select the Photeeq plugin from the menu.
- Browse the library of lens flare presets.
- Click on the one you like.
- Drag and place the flare where light should be.
- Adjust its size, brightness, and color.
- Click apply when you’re happy.
That’s it! You now have a glowing photo that looks professional and creative.
Best Presets to Try in Photeeq Lens Flare
The photeeq lens flare plugin has several beautiful presets you can choose. Each one gives a different feel.
Here are some good ones to try:
- Golden Hour Glow – adds soft yellow light like sunset
- Soft Circle Flare – creates dreamy round flares
- Vintage Sun Flare – gives a retro look
- Cold Blue Flare – adds mystery to your photo
- Rainbow Streak – great for fun, colorful light
You can use each one on different kinds of photos to see how they change the mood.
Tips for Making Lens Flares Look Real
Even though photeeq lens flare is easy to use, you’ll want it to look natural too. Here are some simple tips to help you do that:
- Always match the flare with the light source in the photo.
- Keep it soft and don’t make it too bright.
- Avoid putting flares over faces or main subjects.
- Try lowering the opacity for a more natural look.
- Use only one or two flares in each photo.
Small touches make a big difference. With the right placement, your photo will look light-filled, not overdone.
What Photos Work Best with Photeeq Lens Flare?
You can use photeeq lens flare on many kinds of photos, but some work better than others.
Flare works best on:
- Backlit portraits
- Sunrise and sunset landscapes
- Outdoor wedding photos
- Forest or nature scenes with light peeking through
- Urban scenes with cars and reflection
You’ll get the most from the plugin when your photo already has strong light direction. Then the flare just enhances it.
Creative Ways to Use Photeeq Lens Flare
Think beyond just one flare in the corner. Here are fun ways to use photeeq lens flare creatively:
- Add a flare to a rainy photo to make it look sunlit
- Use colored flares to match a party or holiday theme
- Stack two flares for a double light effect
- Apply flare to a black-and-white photo for extra emotion
- Use it in collages and Instagram posts for a glowing style
It’s your creative tool, so play around and find what fits your style.
Problems You Might Face and How to Fix Them
Sometimes, photeeq lens flare doesn’t look right. Don’t worry. Here are common mistakes and how to solve them:
Problem: Flare looks fake or too strong
Fix: Lower the brightness and blend it better
Problem: Flare is in the wrong place
Fix: Move it to where real light would be
Problem: It changes your photo color too much
Fix: Use a less colorful flare or lower opacity
Always preview before saving. Get feedback from friends if you’re unsure.
Photeeq Lens Flare vs Other Lens Flare Plugins
There are other lens flare tools out there. But how does photeeq lens flare compare?
Here’s a quick look:
Photeeq Lens Flare
- Easy for beginners
- Works quickly
- Lots of presets
- Realistic results
- Budget-friendly
Other Tools (like Nik Collection or ON1)
- May need more editing skills
- Can be more expensive
- May require manual flare building
If you want speed, simplicity, and beauty, photeeq lens flare is a smart choice.
Turn Photeeq Lens Flare Into Your Editing Style
Many photographers use photeeq lens flare regularly to give all their photos the same glowing vibe. It can become part of your style.
Here’s how to make it your signature look:
- Always use the same preset or color tone
- Add flares in the same corner of each image
- Pair flares with soft filters for a dreamy theme
- Use them heavily in your portfolio or social feed
Soon, people will know your work just by its glowing light style!
Real-Life Example: Before and After Using Photeeq Lens Flare
Let me share a personal story. I had a photo of a beach with my sister. It looked fine, but felt flat.
Then I used photeeq lens flare. A soft golden glow came from the top left corner, pointing to the ocean. Suddenly, the water shimmered and the whole photo looked warm and alive.
My sister posted it and people loved it. She had over 500 likes in a day. And all I did was add one tiny light flare!
That’s the power of photeeq lens flare.
FAQs
1. What exactly is Photeeq lens flare?
It’s a photo editing plugin that adds bright light or sun flares to your pictures. It mimics real light.
2. Is Photeeq lens flare hard to use?
No! It’s simple, even for beginners. Just choose a flare, place it, and adjust the settings a little.
3. Does Photeeq lens flare work with all photo editors?
It mainly works with Photoshop and Lightroom. Check your software version for compatibility.
4. Is Photeeq lens flare free?
Some parts may be free, but premium features may need a paid license. Still, it’s very affordable.
5. Will lens flare lower the photo quality?
Not if used wisely. It can actually improve quality by adding emotion, mood, and storytelling.
6. Can I use Photeeq lens flare on mobile?
No official mobile app yet, but you can export your photos from mobile and edit them on your computer using Photeeq.
conclusion
If you want to bring mood, sunlight, and storytelling into your photos, photeeq lens flare is the perfect tool. You don’t need a fancy camera or long hours of editing.
Just install the plugin, pick your favorite flare, and glow your photos up.
Now it’s your turn. Take that photo you love, open it in Photoshop, and try adding a beautiful photeeq lens flare today. You’ll see what a little light can do.


Post Comment